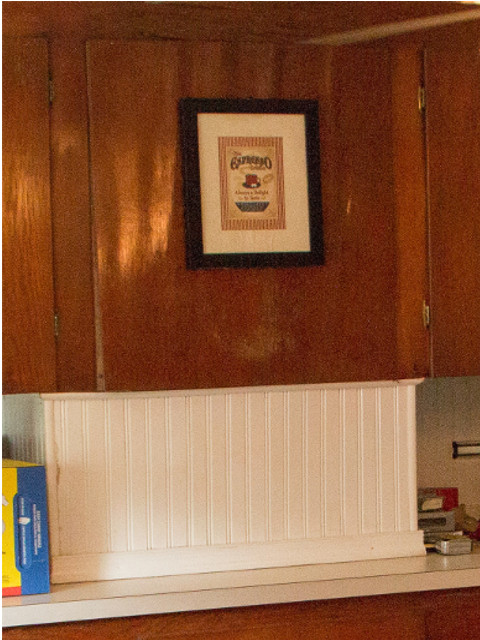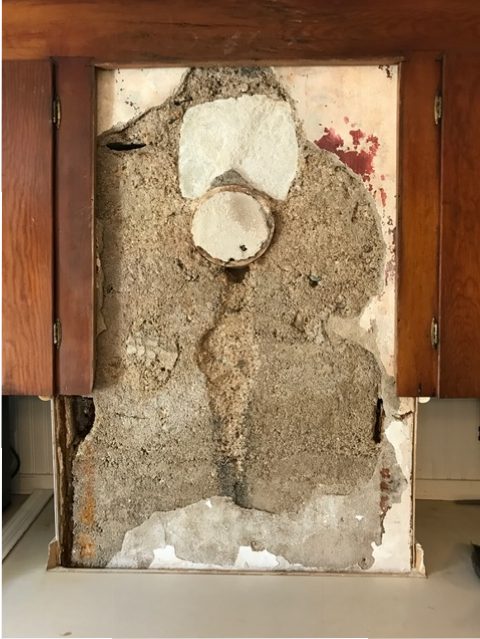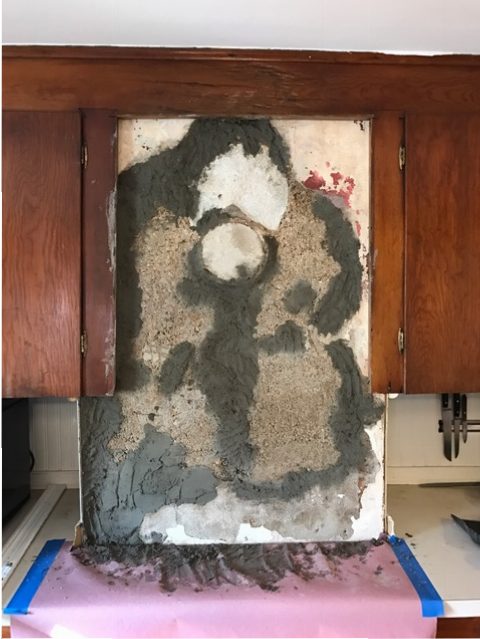
One spot in our kitchen had some water damage which resulted in a bulged-out cabinet and wall. It probably seems like a small thing, especially because the ‘before’ picture fails to capture the magnitude of the bulge, but this has bothered me since we moved in. One day, while Vali was traveling, I decided it needed to be fixed, so I got out the tools.Not knowing what I would find when I removed the piece covering the chimney I was a bit nervous but dove in anyway. I knew, whatever I did, was sure to be better. I didn’t get a photo but the parging on the chimney had separated from the structure underneath and crumbled away when I touched it. It was bulged out two or three inches at the worst spots. I knocked off everything that was loose and crumbling and made an enormous mess of the kitchen. Dust was everywhere. It took a long time with the shop-vac and cleaning rags to put the room back in working condition. No, I didn’t put the dishes I washed that morning away before I started. I had to wash them all again. Lesson learned.With the rotten parts removed and a few holes exposed I was ready to mix up some mortar and put it all back together. I wasn’t really concerned with making it beautiful because it was all going to be covered up again anyway. I just wanted to seal everything up and provide a good base for the trim to go back onto. It’s jobs like this which provide practice for the times you will care about how your masonry work looks. I need a few more of these.
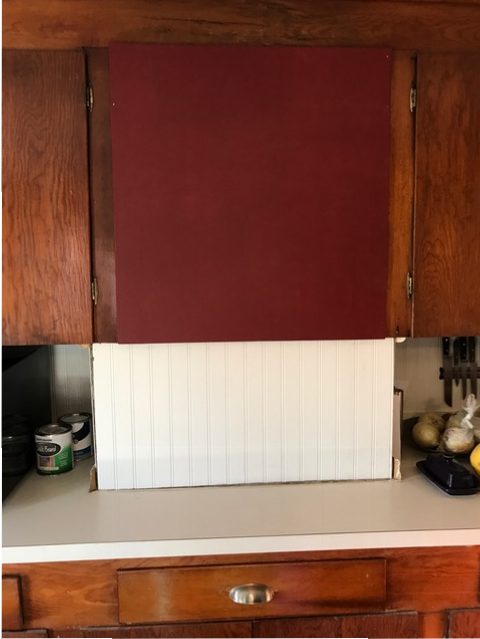
The panel that had covered this space was damaged by the former water leak too. I had hopes of restoring it before I started but when I took it down it fell into about 73 pieces, each more riddled with rot than the last. What now? I was never going to match the color and wood of the cabinets. Enter Vali, who had returned from her trip before I finished my repair. “How about a chalkboard?” she offered. Sounded like a good idea to me.
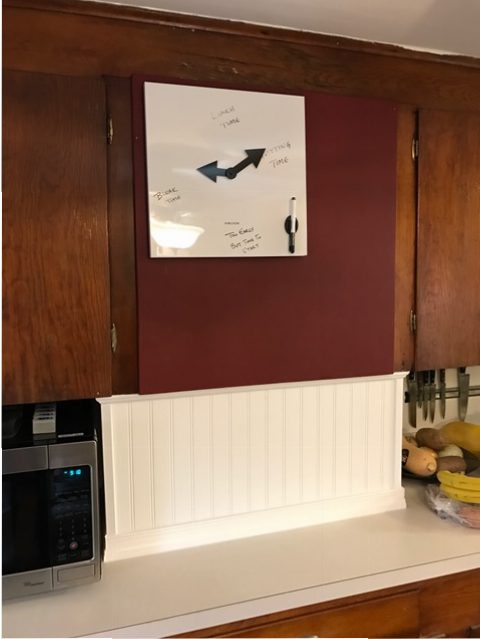
We selected a nice color to compliment the cabinets. This particular color took about 6 coats, after the two coats of primer, to look uniform and not streaky. I think it was a great choice. The next challenge was to match the bead-board at the bottom to the rest of the kitchen. Apparently bead board has changed since the time this trim was installed. It’s wider now. We finally found something very close and because of where the new piece is you can’t even tell it’s not the same pitch as the existing board.
All buttoned up and trimmed it looks like new again. Onto the next job.